The BEST No-Bake Cheesecake Recipe
Introduction
Imagine a creamy, rich, and indulgent cheesecake that requires no baking at all. Sounds like a dream, right? This no-bake cheesecake recipe is a game-changer for anyone who loves the classic dessert but wants to skip the hassle of baking. With everyday ingredients and minimal effort, you can create a show-stopping dessert that’s perfect for any occasion. The best part? It’s incredibly easy to make and requires no special skills or equipment. Whether you’re a beginner in the kitchen or a seasoned pro, this recipe is sure to impress your friends and family with its silky smooth texture and decadent flavor.
Why This Works
- The perfect balance of flavors and textures, combined with the accessibility of the ingredients, makes this recipe a winner. You likely have most of the ingredients in your pantry already, and the rest are easily found in any grocery store.
- The ease of preparation is another significant advantage. Unlike traditional cheesecakes that require careful mixing, precise oven temperatures, and long baking times, this no-bake version simplifies the process without compromising on taste or quality.
- Despite its simplicity, the end result is nothing short of impressive. The cheesecake sets beautifully, with a firm edge and a creamy center, all without the need for baking. It’s a perfect dessert for hot summer days or for anyone who wants to avoid the heat of the oven.
Ingredients
- 1 1/2 cups graham cracker crumbs
- 1/4 cup granulated sugar
- 1/2 cup unsalted butter, melted
- 16 ounces cream cheese, softened
- 1/2 cup granulated sugar
- 4 large eggs, separated
- 1 teaspoon vanilla extract
- 1 cup sour cream
- 1 cup heavy cream
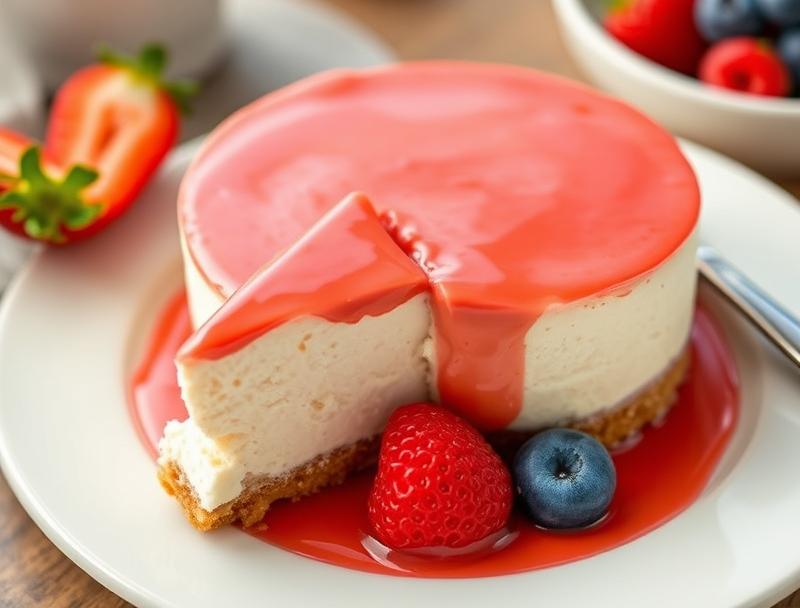
- Fresh fruit, for garnish
Instructions
- Step 1: Prepare the Crust – In a medium bowl, mix together the graham cracker crumbs and sugar. Pour in the melted butter and stir until the crumbs are evenly moistened. Press the mixture into the bottom of a 9-inch springform pan. Refrigerate for at least 30 minutes to set.
- Step 2: Prepare the Filling – In a large mixing bowl, beat the cream cheese until smooth. Add the granulated sugar and beat until combined. Beat in the eggs, one at a time, followed by the vanilla extract.
- Step 3: Add the Sour Cream and Heavy Cream – Beat in the sour cream and heavy cream until well combined. The mixture should be smooth and creamy.
- Step 4: Assemble and Chill – Pour the cheesecake filling over the prepared crust. Smooth the top and cover with plastic wrap. Refrigerate for at least 4 hours or overnight until set.
Handy Tips
- Make sure to use room temperature ingredients, especially the cream cheese, for a smoother mixing process.
- Don’t overmix the batter, as this can lead to a dense cheesecake.
- For a water bath, wrap the outside of the springform pan with foil and place it in a larger pan filled with water to prevent cracking, although this step is not necessary for a no-bake cheesecake.
Heat Control
Since this is a no-bake cheesecake, there’s no need to worry about oven temperatures or baking times. However, chilling the cheesecake in the refrigerator is crucial for it to set properly. Aim for a refrigeration time of at least 4 hours, but overnight is best for optimal results.
Crunch Factor
The graham cracker crust provides a nice crunch at the bottom of the cheesecake, which contrasts beautifully with the creamy filling. To enhance the crunch, you can toast the graham cracker crumbs in a 350°F oven for a few minutes before making the crust. However, be careful not to burn them.
Pro Kitchen Tricks
- Use a water bath if you’re concerned about the cheesecake cracking, although this is more relevant to baked cheesecakes.
- For a golden top, you can place the cheesecake under the broiler for a minute or two after it has chilled and set. Keep an eye on it to prevent burning.
- Experiment with different flavors by adding extracts (e.g., lemon, almond) or zests to the filling.
Storage Tips
- Store the cheesecake in the refrigerator, covered with plastic wrap or aluminum foil, for up to 5 days.
- Freezing is also an option; wrap the cheesecake tightly in plastic wrap or aluminum foil and place it in a freezer-safe bag. Frozen cheesecakes can be stored for up to 2 months. Thaw overnight in the refrigerator before serving.
- When serving, let the cheesecake sit at room temperature for about 30 minutes to allow it to soften slightly.
Gift Packaging Ideas
If you’re planning to give your no-bake cheesecake as a gift, consider packaging it in a decorative tin or a nicely wrapped box. You can also add a personal touch with a handwritten note or a small bouquet of fresh flowers on top. For a more rustic look, use a wooden crate or a wicker basket, lined with a colorful towel or napkin.
Flavor Variations
- Lemon Blueberry: Add lemon zest and juice to the filling, and top with a blueberry compote.
- Espresso Chocolate: Mix instant coffee into the filling and top with chocolate shavings or chocolate sauce.
- Raspberry Basil: Fold in fresh raspberries and basil leaves into the filling for a refreshing summer twist.
Troubleshooting
- Texture Issues: If the cheesecake is too soft, it may not have chilled long enough. If it’s too dense, overmixing might be the culprit.
- Ingredient Substitutions: You can substitute the sour cream with Greek yogurt or the heavy cream with half-and-half for slightly different flavors and textures.
- Over/Under Chilling: Check the cheesecake after the minimum chilling time. If it’s still soft, give it more time. If it’s perfectly set, you’re ready to serve.
FAQs
- Can I freeze it? Yes, you can freeze the cheesecake for up to 2 months. Thaw it overnight in the refrigerator before serving.
- Is it gluten-free? Depending on the brand of graham crackers used, this cheesecake might not be gluten-free. Look for gluten-free graham crackers to make it suitable for those with gluten intolerance.
- Can I double the recipe? Yes, you can double the recipe, but you’ll need a larger springform pan, such as a 10-inch or larger, to accommodate the increased volume.
Conclusion
This no-bake cheesecake recipe is a versatile and delicious dessert option that’s perfect for any time of the year. Its ease of preparation, coupled with its impressive presentation and taste, makes it a favorite among both beginners and experienced bakers. Feel free to experiment with different flavors and toppings to make it your own, and don’t hesitate to reach out if you have any questions or need further substitutions or variations. Happy baking, or should we say, happy chilling!