Roasted Garlic in Air Fryer
Introduction
Roasting garlic is a simple yet incredibly flavorful process that can elevate any dish from mundane to extraordinary. Traditionally, roasting garlic in the oven is a common method, but with the advent of air fryers, we can achieve the same deep, nutty flavor with much less fuss and in a fraction of the time. In this article, we’ll explore the ease, flavor, and creativity of roasting garlic in an air fryer, using everyday ingredients to create a culinary masterpiece that will impress your family and friends. Whether you’re a seasoned chef or a beginner in the kitchen, this recipe is sure to become a staple in your culinary repertoire.
Why This Works
- Flavor balance and ingredient accessibility: The air fryer method allows for a perfect balance of flavors, with the garlic becoming tender and sweet without overpowering other ingredients. Moreover, the ingredients required are readily available and inexpensive.
- Ease of preparation: Unlike traditional oven roasting, which requires preheating and constant monitoring, the air fryer method is quick and effortless, requiring minimal preparation and attention.
- Impressive results with minimal effort: The air fryer’s precise temperature control and rapid air circulation technology ensure that the garlic is roasted to perfection, with a depth of flavor that belies the minimal effort required to prepare it.
Ingredients
- 3-4 garlic bulbs
- 2 tablespoons olive oil
- 1 teaspoon salt
- 1/2 teaspoon black pepper
- 1/2 teaspoon dried thyme (optional)
- 1/2 teaspoon dried rosemary (optional)
Instructions
- Step 1: Preheat the air fryer to 375°F (190°C). While the air fryer is heating up, prepare the garlic by cutting the top off each bulb to expose the cloves inside. Drizzle the olive oil over the garlic, making sure each clove is coated, then sprinkle with salt, black pepper, and any desired herbs like thyme or rosemary.
- Step 2: Place the garlic bulbs in the air fryer basket, leaving some space between them for even cooking. Cook the garlic for 20-25 minutes, or until the cloves are tender and mashed easily with a fork. The cooking time may vary depending on the size of the garlic bulbs and your personal preference for doneness.
- Step 3: Once the garlic is cooked, remove it from the air fryer and let it cool slightly. You can then squeeze the garlic out of its skin and use it in a variety of dishes, from sauces and marinades to spreads and dips.
- Step 4: For the final touches, consider mixing the roasted garlic with sour cream or Greek yogurt for a delicious dip, or blending it with olive oil and lemon juice for a tasty salad dressing. The possibilities are endless, and the roasted garlic can be stored in an airtight container in the fridge for up to a week, making it a convenient addition to your weekly meal prep.
Handy Tips
- To enhance the flavor, consider adding a pinch of red pepper flakes for a spicy kick or a squeeze of fresh lemon juice for a burst of citrus.
- For a different twist, try roasting garlic with other aromatics like onions or shallots for a depth of flavor that’s sure to impress.
- When storing roasted garlic, make sure to keep it away from direct sunlight and heat sources, as this can cause the garlic to become bitter or develop off-flavors.
Heat Control
The ideal temperature for roasting garlic in an air fryer is between 375°F (190°C) and 400°F (200°C), depending on your air fryer model and the size of the garlic bulbs. It’s essential to monitor the garlic’s doneness, as overcooking can result in a bitter flavor. The garlic is done when it’s tender and mashed easily with a fork, usually after 20-25 minutes of cooking.
Crunch Factor
The roasted garlic should be tender and creamy, with a slight crunch from the garlic skin. To achieve this texture, make sure not to overcook the garlic, as it can become too soft and mushy. If you prefer a crunchier texture, you can cook the garlic for a shorter time or add some crunchy elements like chopped nuts or seeds to your final dish.
Pro Kitchen Tricks
- For easier peeling, try soaking the garlic bulbs in cold water for 30 minutes before roasting. This will help loosen the skin and make it easier to remove.
- To prevent the garlic from becoming too dark or developing bitter flavors, you can cover the air fryer basket with foil during the cooking process. This will help reflect heat and promote even cooking.
- Consider roasting garlic in bulk and freezing it for later use. Simply squeeze the roasted garlic out of its skin, mix it with a bit of oil, and freeze it in ice cube trays for up to 3 months.
Storage Tips
- Store roasted garlic in an airtight container in the fridge for up to a week. You can also freeze it for up to 3 months, either as a whole bulb or as individual cloves.
- When reheating roasted garlic, make sure to do so gently, as high heat can cause the garlic to become bitter. You can reheat it in the microwave or on the stovetop, stirring constantly to prevent burning.
- For the best results, use a glass or ceramic container to store roasted garlic, as metal can react with the garlic’s acidity and cause off-flavors.
Gift Packaging Ideas
If you’re looking to share your roasted garlic with friends and family, consider packaging it in decorative jars or containers. You can add a ribbon or label with the date and ingredients, making it a thoughtful and personalized gift. Alternatively, you can mix the roasted garlic with other ingredients like olive oil and herbs to create a delicious dip or spread, perfect for parties or gatherings.
Flavor Variations
- 🌟 Try adding different spices like smoked paprika or ground cumin to the garlic for a smoky or earthy flavor.
- 🌟 Mix the roasted garlic with other aromatics like roasted onions or shallots for a depth of flavor that’s sure to impress.
- 🌟 Substitute the olive oil with other oils like avocado or grapeseed for a unique flavor profile.
Troubleshooting
- Texture problems: If the garlic becomes too soft or mushy, it may be overcooked. Try reducing the cooking time or temperature to achieve the desired texture.
- Ingredient replacements: If you don’t have olive oil, you can substitute it with other oils like coconut or vegetable oil. However, keep in mind that the flavor may vary slightly.
- Over/undercooking signs: The garlic is done when it’s tender and mashed easily with a fork. If it’s undercooked, it may be too firm or crunchy. If it’s overcooked, it may be too soft or develop bitter flavors.
FAQs
- Can I freeze it? Yes, you can freeze roasted garlic for up to 3 months. Simply squeeze the garlic out of its skin, mix it with a bit of oil, and freeze it in ice cube trays.
- Is it gluten-free? Yes, roasted garlic is naturally gluten-free, making it a great option for those with gluten intolerance or sensitivity.
- Can I double the recipe? Yes, you can easily double or triple the recipe to make more roasted garlic. Just keep in mind that you may need to adjust the cooking time slightly, depending on the size of the garlic bulbs.
Conclusion
Roasting garlic in an air fryer is a game-changer for any home cook or professional chef. With its ease of preparation, impressive results, and versatility in recipes, it’s sure to become a staple in your culinary repertoire. Whether you’re looking to add depth to your sauces, dips, or spreads, or simply want to impress your friends and family with a delicious and aromatic side dish, roasted garlic in an air fryer is the perfect solution. So go ahead, get creative, and experiment with different flavors and ingredients to make this recipe your own. Happy cooking!
Roasted Garlic in Air Fryer
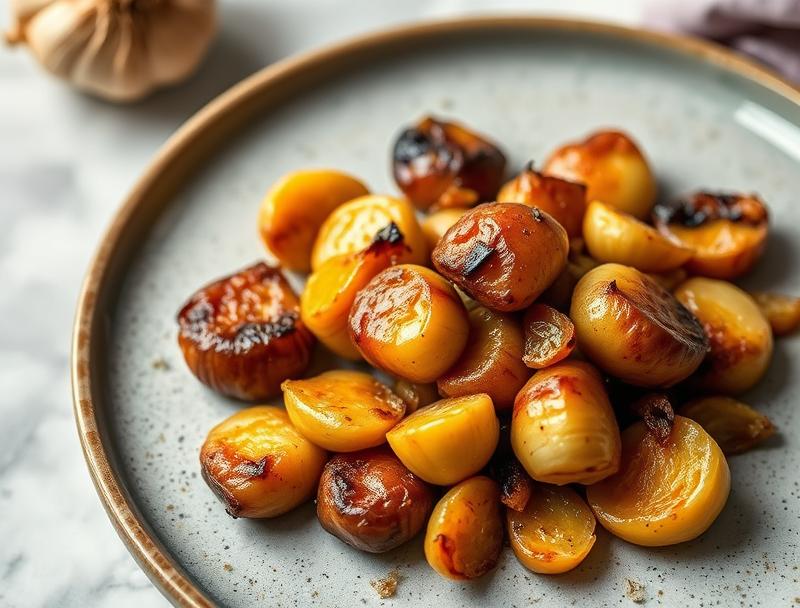
A simple and flavorful recipe for roasting garlic in an air fryer, perfect for adding depth to sauces, dips, and spreads.
🥘 Ingredients
👩🍳 Instructions
-
1Preheat the air fryer to 375°F (190°C).
-
2Prepare the garlic by cutting the top off each bulb to expose the cloves inside.
-
3Drizzle the olive oil over the garlic, making sure each clove is coated, then sprinkle with salt, black pepper, and any desired herbs.
-
4Place the garlic bulbs in the air fryer basket, leaving some space between them for even cooking.
-
5Cook the garlic for 20-25 minutes, or until the cloves are tender and mashed easily with a fork.