Honey Butter Biscuits
Introduction
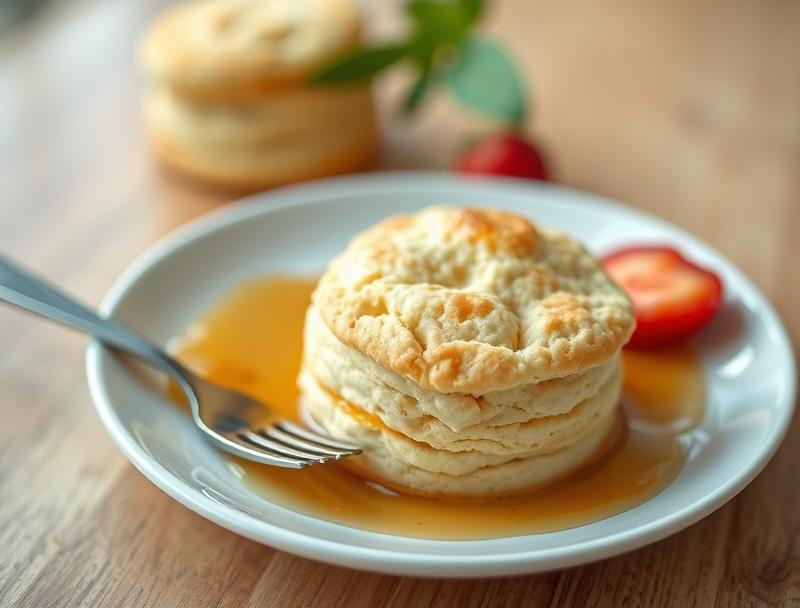
Imagine sinking your teeth into a warm, flaky biscuit, its tender layers infused with the sweetness of honey and the richness of butter. This is what you get with our Honey Butter Biscuits recipe, a culinary delight that combines everyday ingredients with a dash of creativity to produce a truly impressive treat. The best part? It’s incredibly easy to make, requiring minimal effort for a result that’s sure to impress family and friends. Whether you’re a seasoned baker or just starting out in the kitchen, these biscuits are a perfect addition to any meal, from a hearty breakfast to a comforting dinner.
Why This Works
- Flavor balance and ingredient accessibility: The combination of honey and butter creates a perfect balance of sweetness and richness, while using ingredients that are easily found in most kitchens.
- Ease of preparation: Despite their impressive texture and flavor, these biscuits are surprisingly simple to make, requiring basic kitchen tools and techniques.
- Impressive results with minimal effort: With a short preparation time and straightforward instructions, you can achieve professional-looking and tasting biscuits without spending hours in the kitchen.
Ingredients
- 2 cups all-purpose flour
- 4 teaspoons baking powder
- 1 teaspoon salt
- 1/2 cup cold butter, cut into small pieces
- 3/4 cup buttermilk
- 2 tablespoons honey
- 1 tablespoon melted butter, for brushing
Instructions
- Step 1: Preheat your oven to 425°F (220°C). Line a baking sheet with parchment paper or a silicone mat.
- Step 2: In a large bowl, whisk together the flour, baking powder, and salt. Cut the cold butter into the dry ingredients using a pastry blender or your fingers until the mixture resembles coarse crumbs.
- Step 3: Add the buttermilk to the bowl and stir the mixture with a fork until it forms a shaggy dough. Turn the dough out onto a floured surface and gently knead it a few times until it comes together.
- Step 4: Roll the dough out to about 1 inch thickness and use a biscuit cutter or the rim of a glass to cut out the biscuits. Gather the scraps, re-roll the dough, and cut out additional biscuits.
- Step 5: Place the biscuits on the prepared baking sheet, leaving about 1 inch of space between each biscuit. Brush the tops with the melted butter and drizzle with honey.
- Step 6: Bake the biscuits in the preheated oven for 12-15 minutes, or until they are golden brown. Remove them from the oven and let them cool on a wire rack for a few minutes before serving.
Handy Tips
- Use cold ingredients: Cold butter and buttermilk are crucial for creating the flaky layers in biscuits.
- Don’t overmix: Mix the dough just until the ingredients come together. Overmixing can lead to tough biscuits.
- Experiment with flavors: Consider adding different herbs or spices to the dough for unique flavor variations.
Heat Control
When baking the biscuits, it’s essential to keep an eye on them to ensure they don’t overcook. The ideal temperature is 425°F (220°C), and the biscuits are done when they are golden brown. This should take about 12-15 minutes, but the exact time may vary depending on your oven and the size of your biscuits.
Crunch Factor
The outside of the biscuits should be lightly golden and crispy, while the inside remains tender and flaky. To achieve this texture, make sure not to overbake them. If you prefer a crisper biscuit, you can bake them for an additional 1-2 minutes, but keep a close eye to prevent burning.
Pro Kitchen Tricks
- Use a pastry blender: This tool is designed to cut butter into flour efficiently, making the process of mixing the dough much easier.
- Chill the dough: If you find the dough too sticky to work with, consider chilling it in the refrigerator for about 30 minutes to firm it up.
- Don’t twist the cutter: When cutting out the biscuits, press the cutter straight down and lift it straight up. Twisting can cause the biscuits to become misshapen and affect their rise.
Storage Tips
- Store in an airtight container: Keep the biscuits fresh by storing them in an airtight container at room temperature for up to 2 days.
- Freeze for later: Biscuits can be frozen for up to 2 months. Simply place them in a single layer in a freezer-safe bag or container and thaw at room temperature when you’re ready to serve.
- Reheat gently: To reheat biscuits, wrap them in foil and warm them in a 350°F (180°C) oven for about 5 minutes, or until warmed through.
Gift Packaging Ideas
These biscuits make a wonderful gift, especially when packaged in a charming way. Consider placing them in a decorative tin or a paper bag tied with a ribbon. You could also include a jar of homemade jam or honey for a complete gift set. For a more rustic look, wrap the biscuits individually in parchment paper and place them in a wicker basket.
Flavor Variations
- Different spices: Try adding a pinch of cinnamon, nutmeg, or cardamom to the dough for a unique twist.
- Creative toppings: In addition to honey, consider topping your biscuits with jam, cheese, or even caramel sauce.
- Ingredient swaps: For a gluten-free version, you can substitute the all-purpose flour with a gluten-free flour blend. Just be aware that the texture might be slightly different.
Troubleshooting
- Texture problems: If your biscuits turn out too dense, it might be because the dough was overmixed. Try to mix the ingredients just until they come together for a flakier texture.
- Ingredient replacements: If you don’t have buttermilk, you can make a substitute by mixing 1 cup of milk with 1 tablespoon of white vinegar or lemon juice. Let it sit for 5-10 minutes before using.
- Over/undercooking signs: Biscuits are overcooked if they are too dark or hard. Undercooked biscuits might be pale and soft in the center. Adjust your baking time as needed to achieve the perfect golden brown color.
FAQs
- Can I freeze the dough? Yes, you can freeze the biscuit dough for up to 2 months. Simply shape the dough into biscuits, place them on a baking sheet lined with parchment paper, and put the sheet in the freezer until the biscuits are frozen solid. Then, transfer them to a freezer-safe bag or container.
- Is this recipe gluten-free? No, this recipe uses all-purpose flour and is not gluten-free. However, you can experiment with gluten-free flours to create a gluten-free version.
- Can I double the recipe? Yes, you can easily double or even triple this recipe if you need more biscuits. Just keep in mind that you might need to adjust the baking time slightly if you’re baking a larger batch.
Conclusion
Making Honey Butter Biscuits is a rewarding experience that yields delicious results with minimal effort. Whether you’re baking for a special occasion or just a cozy night in, these biscuits are sure to become a favorite. Don’t be afraid to experiment with different flavors and toppings to make the recipe your own, and enjoy the process of creating something truly special from scratch. Happy baking!
Honey Butter Biscuits
A simple recipe for flaky, sweet, and buttery biscuits perfect for any meal.
🥘 Ingredients
👩🍳 Instructions
-
1Preheat the oven to 425°F (220°C).
-
2Mix the dry ingredients and cut in the cold butter.
-
3Add the buttermilk and mix until a shaggy dough forms.
-
4Turn the dough out onto a floured surface and gently knead.
-
5Roll out the dough and cut out the biscuits.
-
6Brush the tops with melted butter and drizzle with honey.
-
7Bake the biscuits for 12-15 minutes or until golden brown.