Garlic Bread
Introduction
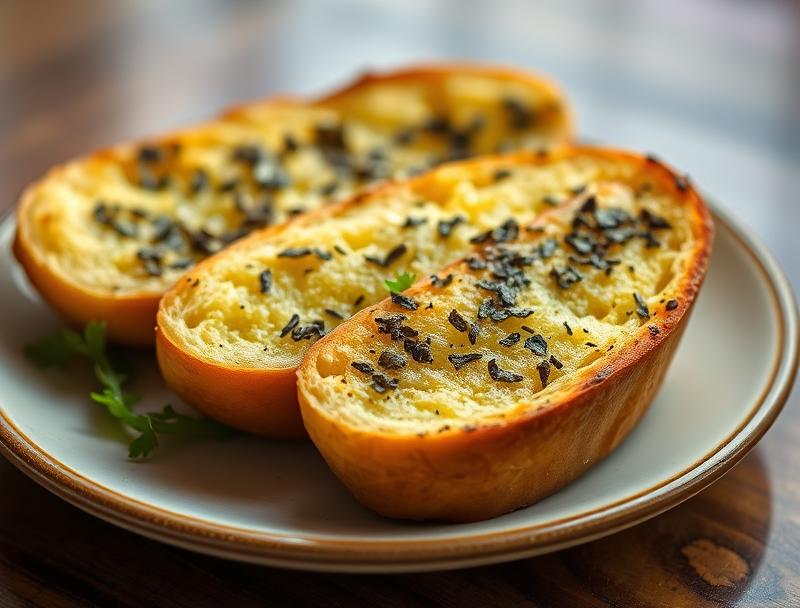
Garlic bread, a classic comfort food that never fails to impress, is surprisingly easy to make and requires only a few everyday ingredients. The combination of aromatic garlic, melted butter, and crispy bread is a match made in heaven, making it a staple in many cuisines around the world. What’s more, garlic bread is incredibly versatile – it can be served as a side dish, used as a base for appetizers, or even enjoyed on its own as a snack. In this article, we’ll explore the simplicity and elegance of garlic bread, and provide you with a foolproof recipe to make it at home.
Why This Works
- Flavor balance and ingredient accessibility: The beauty of garlic bread lies in its simplicity. With just a few ingredients, including garlic, butter, and bread, you can create a dish that’s both flavorful and satisfying.
- Ease of preparation: Making garlic bread is a breeze, requiring only a few minutes of prep time and a short stint in the oven. This makes it an ideal recipe for busy weeknights or last-minute gatherings.
- Impressive results with minimal effort: Despite its ease of preparation, garlic bread is sure to impress your family and friends. The combination of crispy bread, melted butter, and aromatic garlic is a winner, and the presentation is simple yet elegant.
Ingredients
- 1 loaf of Italian bread (about 1 pound)
- 3 cloves of garlic, minced
- 1/2 cup of butter, softened
- 1 teaspoon of salt
- 1/4 teaspoon of black pepper
- 1/4 cup of grated Parmesan cheese (optional)
- Fresh parsley or basil, chopped (optional)
Instructions
- Step 1: Preheat your oven to 350°F (180°C). Slice the Italian bread into 1-inch thick slices and place them on a baking sheet lined with parchment paper.
- Step 2: In a small bowl, mix together the minced garlic and softened butter until well combined. Spread the garlic butter mixture evenly onto each bread slice, making sure to get all the way to the edges.
- Step 3: Season the bread slices with salt and black pepper to taste. If using Parmesan cheese, sprinkle it evenly over the bread slices.
- Step 4: Bake the garlic bread in the preheated oven for 10-12 minutes, or until it’s golden brown and crispy. Remove it from the oven and sprinkle with chopped parsley or basil if desired.
Handy Tips
- Use high-quality ingredients: The quality of your ingredients can make a big difference in the flavor and texture of your garlic bread. Choose a good Italian bread and fresh garlic for the best results.
- Don’t overdo it with the garlic: While garlic is the star of the show, too much of it can be overpowering. Start with 3 cloves and adjust to taste.
- Experiment with different cheeses: Parmesan is a classic choice, but you can also try other cheeses like mozzarella, cheddar, or feta.
Heat Control
To achieve the perfect crispy crust and soft interior, it’s essential to control the heat. Bake the garlic bread in a preheated oven at 350°F (180°C) for 10-12 minutes, or until it’s golden brown. Keep an eye on it to avoid overcooking, which can make the bread dry and crumbly.
Crunch Factor
The crunch factor is what sets great garlic bread apart from the rest. To achieve a crispy crust, make sure to bake the bread until it’s golden brown and firm to the touch. You can also try broiling the bread for an extra minute or two to get a crunchier crust.
Pro Kitchen Tricks
- Use a garlic press: A garlic press can help you extract the maximum amount of flavor from your garlic cloves.
- Let the bread cool: Before slicing the garlic bread, let it cool for a few minutes. This will help the bread to retain its texture and prevent it from becoming soggy.
- Freeze for later: Garlic bread can be frozen for up to 2 months. Simply wrap it tightly in plastic wrap or aluminum foil and thaw it at room temperature when you’re ready to serve.
Storage Tips
- Store at room temperature: Garlic bread can be stored at room temperature for up to 2 days. Simply wrap it tightly in plastic wrap or aluminum foil and keep it in a cool, dry place.
- Reheat in the oven: To reheat garlic bread, wrap it in foil and bake it in a preheated oven at 350°F (180°C) for 5-7 minutes, or until it’s crispy and warm.
- Freeze for later: Garlic bread can be frozen for up to 2 months. Simply wrap it tightly in plastic wrap or aluminum foil and thaw it at room temperature when you’re ready to serve.
Gift Packaging Ideas
Garlic bread is a great gift idea for friends and family, especially during the holidays. To package it, simply wrap it tightly in plastic wrap or aluminum foil and place it in a gift basket or tin. You can also add a few extras like a jar of marinara sauce, a block of Parmesan cheese, or a few fresh basil leaves to make it a more substantial gift.
Flavor Variations
- Different cheeses: Try using different cheeses like mozzarella, cheddar, or feta to give your garlic bread a unique flavor.
- Herbs and spices: Add some fresh herbs like parsley, basil, or oregano to give your garlic bread a fresh and aromatic flavor. You can also try adding some spices like paprika or red pepper flakes to give it a smoky or spicy flavor.
- Meat and seafood: Try adding some cooked meat or seafood to your garlic bread to make it more substantial. Some great options include cooked bacon, ham, or shrimp.
Troubleshooting
- Texture problems: If your garlic bread is too dry or crumbly, it may be due to overcooking. Try reducing the cooking time or temperature to achieve a softer texture.
- Ingredient replacements: If you don’t have any garlic, you can try using onion or shallots as a substitute. You can also use different types of bread, such as sourdough or whole wheat, to give your garlic bread a unique flavor.
- Over/undercooking signs: Keep an eye on your garlic bread while it’s cooking to avoid overcooking. If it’s too brown or crispy, it may be overcooked. If it’s too pale or soft, it may be undercooked.
FAQs
- Can I freeze it? Yes, garlic bread can be frozen for up to 2 months. Simply wrap it tightly in plastic wrap or aluminum foil and thaw it at room temperature when you’re ready to serve.
- Is it gluten-free? No, traditional garlic bread is not gluten-free. However, you can try using gluten-free bread to make a gluten-free version.
- Can I double the recipe? Yes, you can easily double or triple the recipe to make more garlic bread. Simply multiply the ingredients and adjust the cooking time as needed.
Conclusion
Garlic bread is a classic comfort food that’s easy to make and always a crowd-pleaser. With its crispy crust, soft interior, and aromatic flavor, it’s the perfect side dish or snack for any occasion. Whether you’re a beginner or an experienced cook, this recipe is sure to become a staple in your kitchen. So go ahead, give it a try, and enjoy the delicious taste of homemade garlic bread!
Garlic Bread
A classic comfort food made with garlic, butter, and bread, perfect as a side dish or snack.
🥘 Ingredients
👩🍳 Instructions
-
1Preheat the oven to 350°F (180°C).
-
2Slice the Italian bread into 1-inch thick slices and place them on a baking sheet lined with parchment paper.
-
3Mix together the minced garlic and softened butter, and spread it evenly onto each bread slice.
-
4Season with salt and black pepper to taste, and sprinkle with Parmesan cheese if using.
-
5Bake in the preheated oven for 10-12 minutes, or until golden brown and crispy.
-
6Remove from the oven and sprinkle with chopped parsley or basil if desired.