Easy Baked Pears Recipe
Introduction
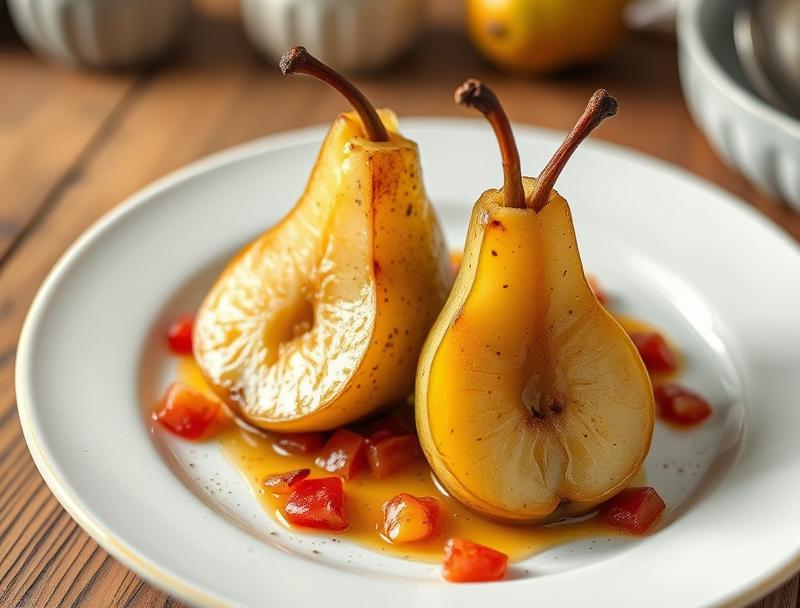
This Easy Baked Pears Recipe is a delightful and flavorful dessert that combines the natural sweetness of pears with a blend of spices and a hint of citrus, all baked to perfection. The beauty of this recipe lies in its simplicity, using everyday ingredients to create a dish that is both impressive and easy to make. Whether you’re a seasoned baker or just starting out, this recipe is perfect for anyone looking to add a touch of warmth and comfort to their dessert menu. The best part? It’s incredibly versatile, allowing you to experiment with different spices and toppings to make it your own.
Why This Works
- The balance of flavors in this recipe, combining the sweetness of pears with the warmth of cinnamon and the brightness of lemon, creates a truly unique and delicious taste experience.
- The ease of preparation is a significant advantage, as it requires minimal effort and time, making it perfect for a quick dessert or a special occasion.
- The impressive results, with the pears emerging from the oven tender and caramelized, belie the minimal effort required, making it a great choice for entertaining or special events.
Ingredients
- 4 ripe pears (any variety, but firmer pears like Bartlett or Anjou work best)
- 1/4 cup brown sugar
- 2 tablespoons honey
- 1 tablespoon fresh lemon juice
- 1/2 teaspoon ground cinnamon
- 1/4 teaspoon ground nutmeg
- 1/4 teaspoon salt
- 1/4 cup chopped walnuts or pecans (optional)
- 1 tablespoon unsalted butter, melted
- Whipped cream or vanilla ice cream, for serving (optional)
Instructions
- Step 1: Preheat your oven to 375°F (190°C). Rinse the pears, then peel, core, and halve them. Place the pear halves in a baking dish, leaving a little space between each pear to allow for even cooking.
- Step 2: In a small bowl, mix together the brown sugar, honey, lemon juice, cinnamon, nutmeg, and salt until well combined. Brush this mixture evenly over both sides of the pear halves, making sure they’re fully coated.
- Step 3: If using nuts, sprinkle them over the pears. Drizzle the melted butter over the pears and nuts (if using). This will help the pears caramelize and add a rich flavor.
- Step 4: Bake the pears for about 25-30 minutes, or until they’re tender when pierced with a fork and caramelized, flipping them halfway through the baking time. Remove the pears from the oven and let them cool slightly in the baking dish.
- Step 5: Serve the baked pears warm, topped with whipped cream or a scoop of vanilla ice cream if desired. This adds a creamy contrast to the warm, spiced pears.
Handy Tips
- Choose pears that are ripe but still firm, as they will hold their shape better during baking. Avoid very soft pears, as they may become too mushy.
- Don’t overbake the pears. They should be tender but still retain some of their texture. Overbaking can make them too soft and unappetizing.
- Experiment with different spices and toppings. Cinnamon and nutmeg are classic choices, but you might also consider adding a pinch of cardamom or a drizzle of caramel sauce for extra flavor.
Heat Control
Maintaining the right oven temperature is crucial for achieving perfectly baked pears. Ensure your oven is at 375°F (190°C) for the entire baking time. The pears are done when they’re easily pierced with a fork and have developed a nice caramelized color on the outside.
Crunch Factor
The crunch factor in this recipe comes from the nuts, if you choose to use them. The baking process slightly toasts the nuts, enhancing their flavor and texture. However, the main focus is on the tender, caramelized pears. To achieve this texture, make sure not to overbake the pears, and consider using a variety that holds its shape well when cooked.
Pro Kitchen Tricks
- Use a mixture of sugar and honey for the glaze, as the honey adds a deeper, richer flavor to the pears.
- Let the pears cool in the baking dish for a few minutes before serving. This helps the juices to redistribute, making the pears even more flavorful.
- Consider serving the baked pears with a dollop of whipped cream or a scoop of ice cream. The cold, creamy texture provides a beautiful contrast to the warm, spiced pears.
Storage Tips
- Baked pears can be stored in the refrigerator for up to 24 hours. Let them cool completely before refrigerating.
- To reheat, simply warm the pears in the oven at a low temperature (about 300°F or 150°C) for a few minutes, or until warmed through.
- These pears are best served fresh, but they can also be frozen after baking. Simply place the cooled pears in an airtight container or freezer bag and store in the freezer for up to 2 months. Reheat as described above.
Gift Packaging Ideas
If you’re looking to give baked pears as a gift, consider packaging them in a beautiful tin or ceramic dish, wrapped in a decorative towel or napkin. You could also pair the pears with a bottle of wine, a block of gourmet cheese, or a bag of artisanal crackers for a more substantial gift. For a more rustic approach, place the cooled pears in a Mason jar, add a sprinkle of cinnamon and a few nuts on top, and tie the jar with a ribbon.
Flavor Variations
- Try using different types of sugar, like turbinado or muscovado, for a slightly different flavor profile.
- Experiment with various spices, such as ground ginger, allspice, or cardamom, to give the pears a unique twist.
- For a boozy twist, drizzle the pears with a little bourbon, rum, or Grand Marnier before baking.
Troubleshooting
- If the pears become too soft, it may be due to overbaking. Check the pears frequently during the baking time to avoid this.
- If the topping doesn’t caramelize, ensure your oven is at the correct temperature, and consider broiling the pears for a minute or two to achieve a caramelized top.
- For pears that are too firm, try baking them for a few minutes longer, checking on them until they reach the desired tenderness.
FAQs
- Can I freeze the pears before baking? Yes, but it’s recommended to bake them first and then freeze. Freezing before baking can affect the texture of the pears.
- Is this recipe gluten-free? Yes, this recipe is naturally gluten-free, making it a great option for those with gluten intolerance or sensitivity.
- Can I double the recipe? Absolutely. Simply multiply all the ingredients by two and proceed with the recipe as instructed. You may need to adjust the baking time slightly, depending on the size of your pears and your oven.
Conclusion
This Easy Baked Pears Recipe is a versatile and delicious dessert option that’s perfect for any time of the year. With its simple ingredients and easy preparation, it’s a great choice for both beginners and experienced bakers. Feel free to experiment with different spices and toppings to make the recipe your own, and don’t hesitate to share your creations with friends and family. Whether you’re looking for a quick dessert or a special treat, these baked pears are sure to impress. So go ahead, get baking, and enjoy the warm, comforting goodness of baked pears!
Easy Baked Pears Recipe
A simple and delicious dessert recipe featuring baked pears with a blend of spices and a hint of citrus.
🥘 Ingredients
👩🍳 Instructions
-
1Preheat the oven to 375°F (190°C).
-
2Prepare the pears by peeling, coring, and halving them.
-
3Mix the sugar, honey, lemon juice, cinnamon, nutmeg, and salt in a bowl.
-
4Brush the mixture over both sides of the pear halves.
-
5Bake the pears for 25-30 minutes, or until tender and caramelized.
-
6Serve the pears warm, topped with whipped cream or ice cream if desired.