Sunny Side Up Eggs
Introduction
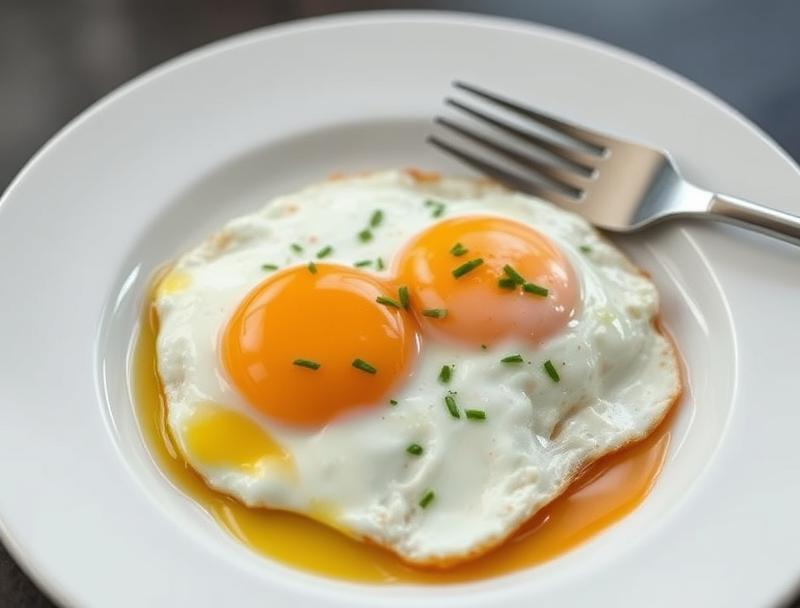
Sunny side up eggs are a staple breakfast dish that is both easy to make and packed with flavor. With just a few everyday ingredients, you can create a delicious and impressive meal that is sure to start your day off right. The best part about sunny side up eggs is their versatility – you can enjoy them on their own, paired with toast or hash browns, or as part of a larger breakfast skillet. Whether you’re a busy professional looking for a quick and easy breakfast solution or a culinary enthusiast eager to experiment with new flavors and techniques, sunny side up eggs are a great choice.
Why This Works
- Flavor balance and ingredient accessibility: Sunny side up eggs rely on just a few simple ingredients, including eggs, salt, and pepper, making them easy to whip up at a moment’s notice.
- Ease of preparation: With a cooking time of just a few minutes, sunny side up eggs are a great option for busy mornings when you need a quick and easy breakfast solution.
- Impressive results with minimal effort: Despite their simplicity, sunny side up eggs are a impressive and delicious breakfast dish that is sure to please even the pickiest of eaters.
Ingredients
- 2 eggs per serving
- 1 tablespoon butter or oil per serving
- Salt and pepper, to taste
- Optional: chopped herbs or chili flakes for added flavor
Instructions
- Step 1: Crack the eggs into a non-stick skillet or cast-iron pan coated with butter or oil over medium heat.
- Step 2: Cook the eggs for 2-3 minutes, until the whites are set and the yolks are still runny.
- Step 3: Use a spatula to carefully lift and fold the edges of the eggs towards the center, allowing the uncooked egg to flow to the edges.
- Step 4: Cook for an additional 30 seconds to 1 minute, until the whites are fully set and the yolks are cooked to your desired level of doneness.
Handy Tips
- Use room temperature eggs for easier cracking and a more even cook.
- Avoid overcooking the eggs, as this can cause the yolks to become too firm and the whites to become tough.
- Don’t be afraid to experiment with different seasonings and toppings, such as chopped herbs, chili flakes, or grated cheese.
Heat Control
When cooking sunny side up eggs, it’s essential to maintain a medium heat to prevent the eggs from cooking too quickly or too slowly. Ideally, you want to cook the eggs over a heat that is just hot enough to set the whites and cook the yolks to your desired level of doneness. If you find that your eggs are cooking too quickly, reduce the heat to medium-low or low. If they’re cooking too slowly, increase the heat to medium-high.
Crunch Factor
Sunny side up eggs are typically cooked until the whites are just set and the yolks are still runny, giving them a creamy and tender texture. If you prefer a crunchier texture, you can cook the eggs for a minute or two longer, until the yolks are fully set and the whites are crispy around the edges. Alternatively, you can add some crunchy toppings, such as chopped bacon or toasted bread crumbs, to give your eggs a satisfying crunch.
Pro Kitchen Tricks
- Use a non-stick skillet or cast-iron pan to prevent the eggs from sticking and to make them easier to flip and remove.
- Don’t overcrowd the pan – cook the eggs one or two at a time, depending on the size of your pan, to ensure that they have enough room to cook evenly.
- Use a thermometer to ensure that your pan is at the ideal temperature for cooking eggs. The ideal temperature for cooking sunny side up eggs is between 160°F and 180°F.
Storage Tips
- Cooked sunny side up eggs can be stored in the refrigerator for up to 3 days.
- To reheat, simply place the eggs in a microwave-safe dish and heat for 10-15 seconds, or until warmed through.
- It’s best to store cooked eggs in a covered container, such as a glass or plastic container with a tight-fitting lid, to prevent them from drying out or absorbing odors from other foods.
Gift Packaging Ideas
While sunny side up eggs are typically served as a breakfast dish, they can also be packaged and given as a gift, such as a breakfast basket or a brunch kit. Consider packaging the eggs in a decorative container, such as a wooden or bamboo basket, and including some complementary items, such as toast or hash browns, to make the gift more special.
Flavor Variations
- Smoked paprika and chili flakes for a spicy and smoky flavor
- Chopped herbs, such as parsley or chives, for a fresh and oniony flavor
- Grated cheese, such as cheddar or parmesan, for a rich and creamy flavor
Troubleshooting
- Texture problems: If the eggs are too runny or too firm, adjust the cooking time and heat accordingly.
- Ingredient replacements: If you don’t have butter or oil, you can use other fats, such as bacon drippings or coconut oil, to cook the eggs.
- Over/undercooking signs: If the eggs are overcooked, they will be dry and rubbery. If they’re undercooked, the whites will be runny and the yolks will be too soft.
FAQs
- Can I freeze sunny side up eggs? No, it’s not recommended to freeze sunny side up eggs, as the texture and quality will be affected.
- Are sunny side up eggs gluten-free? Yes, sunny side up eggs are naturally gluten-free, making them a great option for those with gluten intolerance or sensitivity.
- Can I double the recipe? Yes, you can easily double or triple the recipe for sunny side up eggs, depending on the number of servings you need.
Conclusion
Sunny side up eggs are a delicious and easy-to-make breakfast dish that is perfect for any time of day. With their creamy yolks and tender whites, they’re a great way to start your day off right. Whether you’re a busy professional or a culinary enthusiast, sunny side up eggs are a great choice. So next time you’re looking for a quick and easy breakfast solution, give sunny side up eggs a try – we’re sure you’ll love them!
Sunny Side Up Eggs
A simple and delicious breakfast dish made with eggs, salt, and pepper, cooked to a creamy and tender perfection.
🥘 Ingredients
👩🍳 Instructions
-
1Crack the eggs into a non-stick skillet or cast-iron pan coated with butter or oil over medium heat.
-
2Cook the eggs for 2-3 minutes, until the whites are set and the yolks are still runny.
-
3Use a spatula to carefully lift and fold the edges of the eggs towards the center, allowing the uncooked egg to flow to the edges.
-
4Cook for an additional 30 seconds to 1 minute, until the whites are fully set and the yolks are cooked to your desired level of doneness.