Homemade Brownie
Introduction
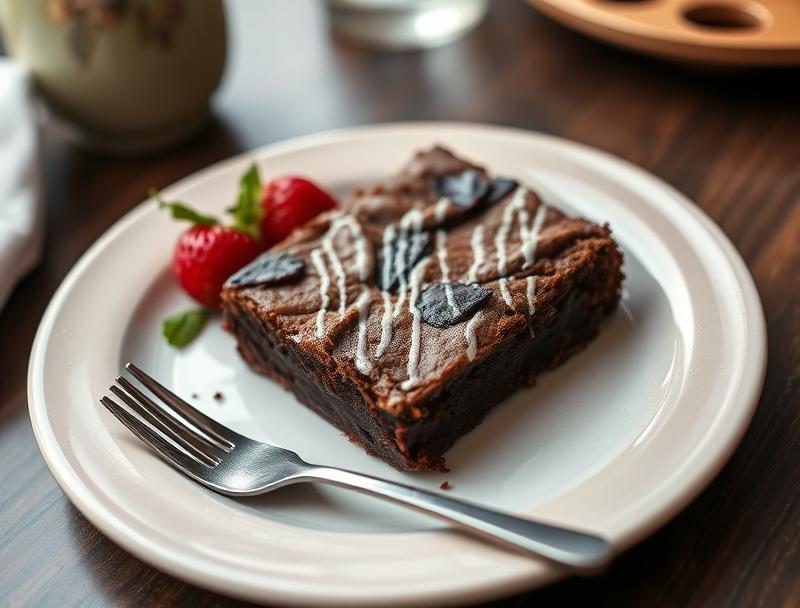
Indulge in the rich, velvety world of homemade brownies, where the perfect balance of flavors and textures comes together in a delightfully easy-to-make treat. Using everyday ingredients, you can create a masterpiece that’s not only a feast for the taste buds but also a testament to your creativity in the kitchen. From the gooey, chocolatey center to the crispy, caramelized edges, every bite of a homemade brownie is a journey of flavors and sensations. Whether you’re a seasoned baker or a beginner looking to impress, this recipe is your key to unlocking the secrets of the perfect brownie.
Why This Works
- Flavor balance and ingredient accessibility: This recipe strikes the perfect chord between ease of preparation and the use of readily available ingredients, ensuring that you can whip up a batch of brownies at a moment’s notice without having to hunt down exotic components.
- Ease of preparation: The simplicity of the recipe makes it accessible to everyone, regardless of their baking experience. With straightforward steps and minimal fuss, you can have a tray of brownies ready to go into the oven in no time.
- Impressive results with minimal effort: Despite its simplicity, this recipe yields results that are anything but. The end product is a rich, decadent, and visually appealing dessert that’s sure to impress friends and family alike, making it perfect for gatherings, parties, or just a quiet night in.
Ingredients
- 1 and 1/2 sticks of unsalted butter (12 tablespoons), plus more for greasing the pan
- 2 cups of sugar
- 4 large eggs
- 1/2 cup of unsweetened cocoa powder
- 1 teaspoon of vanilla extract
- 1/4 teaspoon of salt
- 1 and 1/4 cups of all-purpose flour
- 1 cup of semi-sweet chocolate chips
- 1 cup of chopped walnuts (optional)
Instructions
- Step 1: Preparation – Begin by preheating your oven to 350°F (180°C). Grease an 8-inch square baking pan with butter and line it with parchment paper, leaving some overhang for easy removal.
- Step 2: Mixing the Batter – In a medium bowl, whisk together flour, salt, and cocoa powder. Set aside. In a large bowl, use an electric mixer to beat together the butter and sugar until light and fluffy, about 2-3 minutes. Beat in the eggs one at a time, followed by the vanilla extract.
- Step 3: Combining Wet and Dry Ingredients – Gradually mix the dry ingredients into the wet ingredients until just combined, being careful not to overmix. Stir in the chocolate chips and walnuts (if using).
- Step 4: Baking – Pour the batter into the prepared baking pan and smooth the top. Bake for 25-30 minutes or until a toothpick inserted into the center comes out with a few moist crumbs attached. Avoid overbaking.
- Step 5: Cooling and Cutting – Remove the brownies from the oven and let them cool completely in the pan. Once cooled, lift the brownies out of the pan using the parchment paper and cut into squares.
Handy Tips
- For a chewier texture, bake for 23-25 minutes. For a firmer texture, bake for 30-35 minutes.
- Don’t overmix the batter, as this can lead to dense brownies.
- Let the brownies cool completely before cutting for clean edges and less crumbly texture.
Heat Control
The ideal temperature for baking brownies is 350°F (180°C). It’s crucial to keep an eye on the baking time, as overbaking can result in dry brownies. A toothpick inserted into the center should come out with a few moist crumbs for the perfect doneness.
Crunch Factor
The crunch factor in brownies often comes from the edges, which can be crisper than the center. To enhance this, ensure your oven is at the correct temperature, and consider baking for a minute or two longer if you prefer a crunchier edge. However, be cautious not to overbake.
Pro Kitchen Tricks
- Use high-quality chocolate for the best flavor.
- Don’t open the oven door during the baking time, as this can cause the brownies to sink or not cook evenly.
- For an extra fudgy center, underbake the brownies slightly and let them cool in the pan.
Storage Tips
- Store brownies in an airtight container at room temperature for up to 3 days.
- For longer storage, wrap tightly and freeze for up to 2 months. Thaw at room temperature when ready to serve.
- Reheat brownies in the microwave for a few seconds for a warm, gooey treat.
Gift Packaging Ideas
Brownies make excellent gifts, especially when packaged nicely. Consider cutting them into bite-sized squares, placing them in decorative tins or jars, and topping with a ribbon or gift tag. You can also wrap individual brownies in plastic wrap or aluminum foil and place them in a gift basket filled with other sweet treats.
Flavor Variations
- Try adding different spices like cinnamon, nutmeg, or cayenne pepper for unique flavor profiles.
- Experiment with creative toppings such as nuts, dried fruits, or even candy pieces before baking.
- Swap out the semi-sweet chocolate chips for milk chocolate, white chocolate, or a combination for different flavor undertones.
Troubleshooting
- Texture problems: Overmixing can lead to dense brownies, while underbaking can result in too gooey a center. Adjust your mixing and baking time accordingly.
- Ingredient replacements: If you’re out of an ingredient, consider substitutions like using brown sugar instead of white sugar for a deeper flavor or applesauce to reduce fat content.
- Over/undercooking signs: Keep an eye on the baking time and check for doneness regularly. Overcooked brownies will be dry and possibly cracked, while undercooked ones will be too moist and possibly raw in the center.
FAQs
- Can I freeze it? Yes, brownies can be frozen for up to 2 months. Wrap them tightly in plastic wrap or aluminum foil and place in a freezer-safe bag.
- Is it gluten-free? This recipe contains flour, making it not gluten-free. However, you can experiment with gluten-free flour mixes as a substitute, though the texture may vary.
- Can I double the recipe? Yes, you can double the recipe, but be sure to use a larger baking pan to accommodate the increased batter. Adjust the baking time as necessary, keeping an eye on the brownies to prevent overbaking.
Conclusion
Making homemade brownies is a rewarding experience that combines the joy of baking with the pleasure of indulging in a rich, chocolatey treat. With its straightforward instructions, accessible ingredients, and room for creativity, this recipe is perfect for anyone looking to delve into the world of baking or simply satisfy their sweetheart tooth. Feel free to experiment with different flavors and toppings, and don’t hesitate to share your creations with friends and family. Happy baking!
Homemade Brownie
A rich, velvety, and easy-to-make dessert perfect for any chocolate lover.
🥘 Ingredients
👩🍳 Instructions
-
1Preheat oven to 350°F (180°C). Grease an 8-inch square baking pan with butter and line with parchment paper.
-
2Mix the batter by combining flour, salt, and cocoa powder in one bowl and beating butter and sugar in another, then combining wet and dry ingredients.
-
3Pour the batter into the prepared baking pan and smooth the top.
-
4Bake for 25-30 minutes or until a toothpick inserted into the center comes out with a few moist crumbs attached.
-
5Let cool completely in the pan before cutting into squares and serving.