Easy Baked Pears Recipe
Introduction
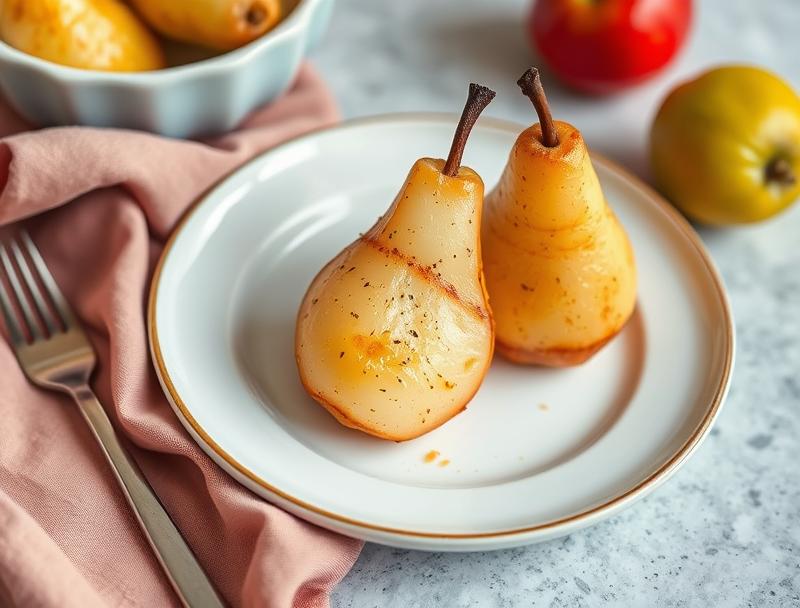
Imagine sinking your teeth into a tender, caramelized pear, infused with the warmth of cinnamon and the subtle sweetness of honey. This easy baked pears recipe is a masterpiece of simplicity, requiring minimal effort but yielding impressive results. With just a few everyday ingredients, you can create a dish that’s perfect for a cozy night in, a dinner party, or even a healthy dessert option. The beauty of this recipe lies in its versatility and ease, making it accessible to cooks of all skill levels. Whether you’re a seasoned chef or a culinary newbie, you’ll find that this recipe is a breeze to follow and adapt to your taste preferences.
Why This Works
- The combination of flavors in this recipe creates a perfect balance of sweet, spicy, and tangy, making each bite a delight for the senses.
- The ease of preparation is unparalleled, requiring only a few minutes of prep time and minimal cooking skills.
- Despite its simplicity, this recipe yields impressive results, making it perfect for entertaining guests or special occasions.
Ingredients
- 4 ripe pears (any variety, such as Bartlett or Anjou)
- 2 tablespoons honey
- 1 tablespoon brown sugar
- 1/2 teaspoon ground cinnamon
- 1/4 teaspoon ground nutmeg
- 1/4 teaspoon salt
- 2 tablespoons unsalted butter, melted
- 1/4 cup chopped fresh thyme (optional)
Instructions
- Step 1: Preheat your oven to 375°F (190°C). Rinse the pears and pat them dry with a paper towel. Remove any stems or leaves, and place the pears in a baking dish.
- Step 2: In a small bowl, whisk together the honey, brown sugar, cinnamon, nutmeg, and salt until well combined. Brush the mixture evenly over the pears, making sure they’re fully coated.
- Step 3: Drizzle the melted butter over the pears, then sprinkle with chopped thyme if using. Cover the baking dish with aluminum foil and bake for 20-25 minutes, or until the pears are tender when pierced with a fork.
- Step 4: Remove the foil and continue baking for an additional 10-15 minutes, or until the pears are caramelized and golden brown. Remove from the oven and let cool for a few minutes before serving. You can serve the pears warm or at room temperature, garnished with additional thyme if desired.
Handy Tips
- Choose ripe but firm pears for the best results. If the pears are too ripe, they may become mushy during baking.
- Don’t overbake the pears, as they can quickly become too soft and lose their texture.
- Consider using different spices, such as ginger or cardamom, to give the pears a unique flavor twist.
Heat Control
To achieve the perfect level of caramelization, it’s essential to monitor the pears’ temperature and texture. The ideal internal temperature for baked pears is between 190°F and 200°F (88°C and 93°C). You can check the temperature by inserting a fork or knife into the pear; if it slides in easily, the pear is done. If you prefer a crisper texture, you can broil the pears for an additional 1-2 minutes, watching carefully to avoid burning.
Crunch Factor
The texture of the baked pears should be tender and slightly caramelized, with a hint of crunch from the thyme or other toppings. To achieve this texture, make sure to not overbake the pears, and consider adding a crunchy element, such as chopped nuts or seeds, to the topping mixture.
Pro Kitchen Tricks
- Use a variety of pear types to create a visually appealing dish, with different colors and textures adding to the overall presentation.
- Consider serving the baked pears with a scoop of vanilla ice cream or whipped cream, as the cold and creamy texture provides a delightful contrast to the warm, caramelized pears.
- To make the recipe more substantial, you can add a crunchy element, such as chopped nuts or granola, to the topping mixture, or serve the pears with a side of roasted nuts or seeds.
Storage Tips
- Let the baked pears cool completely before storing them in an airtight container in the refrigerator for up to 3 days.
- Reheat the pears in the oven or microwave until warmed through, taking care not to overheat and lose the texture.
- Consider freezing the baked pears for up to 2 months, then thawing and reheating as needed. However, note that the texture may change slightly after freezing and reheating.
Gift Packaging Ideas
If you want to give the baked pears as a gift, consider packaging them in a decorative tin or jar, topped with a layer of caramel sauce or whipped cream. You can also add a sprinkle of cinnamon or nutmeg on top, along with a few fresh thyme leaves, to create a visually appealing presentation. Alternatively, you can wrap the pears individually in plastic wrap or aluminum foil and place them in a gift basket or bag, along with a card or gift tag with the recipe and serving suggestions.
Flavor Variations
- Try using different spices, such as ginger, cardamom, or nutmeg, to give the pears a unique flavor twist.
- Add a splash of liqueur, such as Grand Marnier or Cognac, to the topping mixture for a grown-up twist.
- Use different types of sugar, such as turbinado or muscovado, to change the flavor and texture of the caramelized pears.
Troubleshooting
- If the pears become too soft or mushy, it may be due to overbaking or using pears that are too ripe. Try adjusting the baking time or using firmer pears in the future.
- If the caramel sauce doesn’t form properly, it may be due to insufficient sugar or incorrect oven temperature. Try adjusting the sugar amount or oven temperature to achieve the desired caramelization.
- If the pears don’t brown evenly, it may be due to uneven heating or incorrect oven temperature. Try rotating the baking dish or adjusting the oven temperature to achieve even browning.
FAQs
- Can I freeze the baked pears? Yes, you can freeze the baked pears for up to 2 months, then thaw and reheat as needed. However, note that the texture may change slightly after freezing and reheating.
- Are the baked pears gluten-free? Yes, the baked pears are gluten-free, making them a great option for those with gluten intolerance or sensitivity.
- Can I double the recipe? Yes, you can easily double or triple the recipe to feed a larger crowd. Simply adjust the ingredient amounts and baking time accordingly.
Conclusion
In conclusion, this easy baked pears recipe is a game-changer for anyone looking for a simple yet impressive dessert or side dish. With its perfect balance of flavors, ease of preparation, and versatility, this recipe is sure to become a staple in your kitchen. Whether you’re a seasoned chef or a culinary newbie, you’ll find that this recipe is a breeze to follow and adapt to your taste preferences. So go ahead, give it a try, and enjoy the warm, caramelized goodness of these delicious baked pears!
Easy Baked Pears Recipe
A simple and delicious recipe for baked pears, perfect for dessert or as a side dish.
🥘 Ingredients
👩🍳 Instructions
-
1Preheat the oven to 375°F (190°C).
-
2Rinse and dry the pears, then place them in a baking dish.
-
3Whisk together the honey, brown sugar, cinnamon, nutmeg, and salt, then brush the mixture over the pears.
-
4Drizzle the melted butter over the pears, then sprinkle with chopped thyme if using.
-
5Cover the baking dish with aluminum foil and bake for 20-25 minutes, or until the pears are tender when pierced with a fork.
-
6Remove the foil and continue baking for an additional 10-15 minutes, or until the pears are caramelized and golden brown.