Easy Baked Pears Recipe
Introduction
Welcome to the world of effortless desserts with our Easy Baked Pears Recipe, where simplicity meets elegance and flavor. This recipe is perfect for anyone looking to impress their guests or simply satisfy their sweet tooth without spending hours in the kitchen. With just a few everyday ingredients, you can create a dish that’s not only delicious but also visually stunning. The best part? It’s incredibly easy to make, requiring minimal preparation and cooking time. Whether you’re a seasoned baker or a beginner in the kitchen, this recipe is sure to become a favorite.
Why This Works
- The balance of flavors in this recipe, combining the natural sweetness of pears with the warmth of spices, creates a truly unique and delicious taste experience that’s accessible to everyone.
- The ease of preparation is unparalleled; with just a few simple steps, you can have your pears baked to perfection, making it an ideal dessert for busy evenings or special occasions.
- Despite the minimal effort required, the results are impressive. The presentation of baked pears, garnished with fresh herbs or a drizzle of honey, is sure to impress your dinner guests, making it a great choice for entertaining.
Ingredients
- 4 ripe but firm pears (Bartlett or Anjou work well)
- 1/4 cup brown sugar
- 2 tablespoons honey
- 1 tablespoon freshly squeezed lemon juice
- 1/2 teaspoon ground cinnamon
- 1/4 teaspoon ground nutmeg
- 1/4 teaspoon salt
- 1/4 cup chopped fresh walnuts (optional)
- 1 tablespoon unsalted butter, melted
- Fresh herbs like thyme or rosemary for garnish (optional)
Instructions
- Step 1: Preheat your oven to 375°F (190°C). While the oven is heating up, prepare your pears by washing them gently and patting them dry with a paper towel. Remove any stems or leaves.
- Step 2: In a small bowl, mix together the brown sugar, honey, lemon juice, cinnamon, nutmeg, and salt until well combined. If using walnuts, stir them into the sugar mixture at this stage.
- Step 3: Cut the pears in half lengthwise and use a spoon to carefully scoop out the cores, creating a small well in each pear half. Place the pear halves in a baking dish, cut side up.
- Step 4: Divide the sugar and spice mixture evenly among the pears, spooning it into the well of each pear half. Drizzle the melted butter over the pears, making sure each one is coated lightly.
- Step 5: Bake the pears for about 25-30 minutes, or until they’re tender when pierced with a fork and caramelized on top. The exact baking time may vary depending on the ripeness and size of your pears.
- Step 6: Remove the pears from the oven and let them cool slightly in the baking dish. Serve warm, garnished with fresh herbs if desired. You can also serve with vanilla ice cream or whipped cream for an extra-special treat.
Handy Tips
- For an extra caramelized top, broil the pears for 1-2 minutes after baking. Keep a close eye to prevent burning.
- Experiment with different types of sugar or spices to find your favorite flavor combination. For example, using maple syrup instead of honey can give your pears a richer flavor.
- Don’t overmix the sugar and spice mixture, as this can make it difficult to spoon into the pears evenly.
Heat Control
Maintaining the right oven temperature is crucial for baking the pears to perfection. Ensure your oven is at 375°F (190°C) for the entire baking time. If you’re unsure, consider investing in an oven thermometer to get an accurate reading. The pears are done when they’re tender and easily pierced with a fork. If you prefer a softer pear, bake for an additional 5-10 minutes, checking frequently to avoid overcooking.
Crunch Factor
The crunch factor in this recipe comes from the optional walnuts added to the sugar mixture. If you prefer a softer topping, you can omit the walnuts or substitute them with another nut of your choice. For an extra crunchy texture, consider sprinkling some granola or oatmeal over the pears before baking.
Pro Kitchen Tricks
- Use a variety of pear types to create a colorful and visually appealing dish. Each type of pear will have a slightly different flavor and texture, adding depth to your dessert.
- Prepare the sugar and spice mixture ahead of time and store it in an airtight container at room temperature for up to a week. This can be a great timesaver for future baking sessions.
- For easier cleanup, line your baking dish with parchment paper before adding the pears. This will prevent the caramelized sugar from sticking and make washing up a breeze.
Storage Tips
- Baked pears can be stored in the refrigerator for up to 3 days. Let them cool completely before covering and refrigerating.
- To reheat, simply warm the pears in the oven at 300°F (150°C) for about 10-15 minutes, or until warmed through.
- Freezing is not recommended, as the texture of the pears may become mushy upon thawing. However, you can freeze the pear cores and use them to make a delicious pear sauce or butter for future desserts.
Gift Packaging Ideas
If you’re looking to give baked pears as a gift, consider packaging them in a decorative baking dish or individual ramekins. Wrap the dish in a warm towel and place it in a gift basket filled with other sweet treats, like artisanal chocolates or homemade cookies. You could also pair the pears with a bottle of wine or a gourmet food item, like specialty honey or spices, for a more substantial gift.
Flavor Variations
- Try using different spices, such as ground ginger or cardamom, to give your pears a unique flavor.
- Experiment with various types of sugar, like turbinado or muscovado, for a deeper flavor profile.
- Substitute the honey with maple syrup or agave nectar for a slightly different sweetness level and flavor.
Troubleshooting
- If your pears are too hard, they may not be ripe enough. Try leaving them at room temperature for a few days to ripen before baking.
- If the sugar topping doesn’t caramelize, check your oven temperature and ensure you’re not overcrowding the baking dish, which can prevent even browning.
- For pears that are too soft or mushy, reduce the baking time in future attempts. Overcooking can quickly turn delicious pears into an unappetizing mush.
FAQs
- Can I freeze the baked pears? While it’s possible to freeze baked pears, the texture may suffer upon thawing. It’s best to consume them fresh or store them in the refrigerator for up to 3 days.
- Is this recipe gluten-free? Yes, this recipe is naturally gluten-free, making it a great option for those with gluten intolerance or sensitivity.
- Can I double the recipe? Absolutely! Simply double all the ingredients and adjust the baking time as needed. Keep an eye on the pears to ensure they don’t overcook.
Conclusion
In conclusion, our Easy Baked Pears Recipe is a must-try for anyone looking for a simple yet impressive dessert. With its perfect balance of flavors, ease of preparation, and beautiful presentation, it’s sure to become a staple in your kitchen. Don’t be afraid to experiment with different spices and toppings to make the recipe your own, and consider sharing your creations with friends and family. Whether you’re a beginner or an experienced baker, this recipe is sure to delight. So go ahead, give it a try, and enjoy the warm, comforting taste of baked pears, straight from your oven to your table.
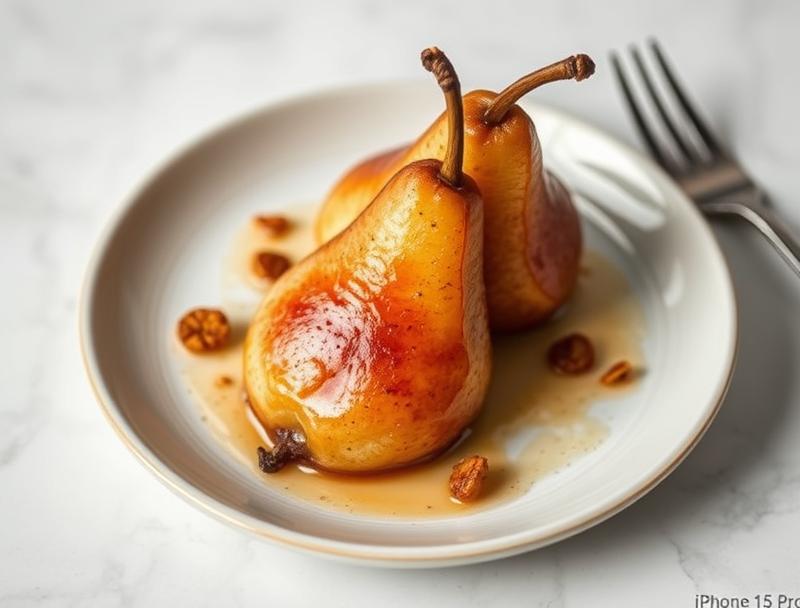
Easy Baked Pears Recipe
A simple and delicious dessert made by baking pears in the oven with a mixture of sugar, spices, and honey, perfect for any occasion.
🥘 Ingredients
👩🍳 Instructions
-
1Preheat the oven to 375°F (190°C).
-
2Prepare the sugar and spice mixture by combining brown sugar, honey, lemon juice, cinnamon, nutmeg, and salt in a bowl.
-
3Cut the pears in half lengthwise, core them, and place them in a baking dish cut side up.
-
4Divide the sugar mixture among the pears, spooning it into the well of each pear half, and drizzle with melted butter.
-
5Bake the pears for 25-30 minutes or until they're tender and caramelized on top.
-
6Remove from the oven, let cool slightly, and serve warm, garnished with fresh herbs if desired.